
Laser cutting signage is a different discipline from general sheet metal work. The parts are small, the materials are reflective, and the quality standard is cosmetic, not just structural. A stainless steel letter for a storefront sign has to look perfect from two meters away. A burr, a discolored edge, or a melted corner is visible to every customer who walks past.
This article is for sign shops and signage manufacturers who cut metal letters, logos, and decorative panels. It covers the materials, the cutting techniques, and the machine configuration that produce signage-quality edges. The three process details that matter most are the ones that rarely appear in general laser cutting guides: film handling, micro-joints, and corner power control.
At WSL Laser, we configure machines for signage manufacturers who need precision at small scale.
Ⅰ. Materials Used in Laser Cutting Signage
1. Mirror Stainless Steel and Brushed Stainless
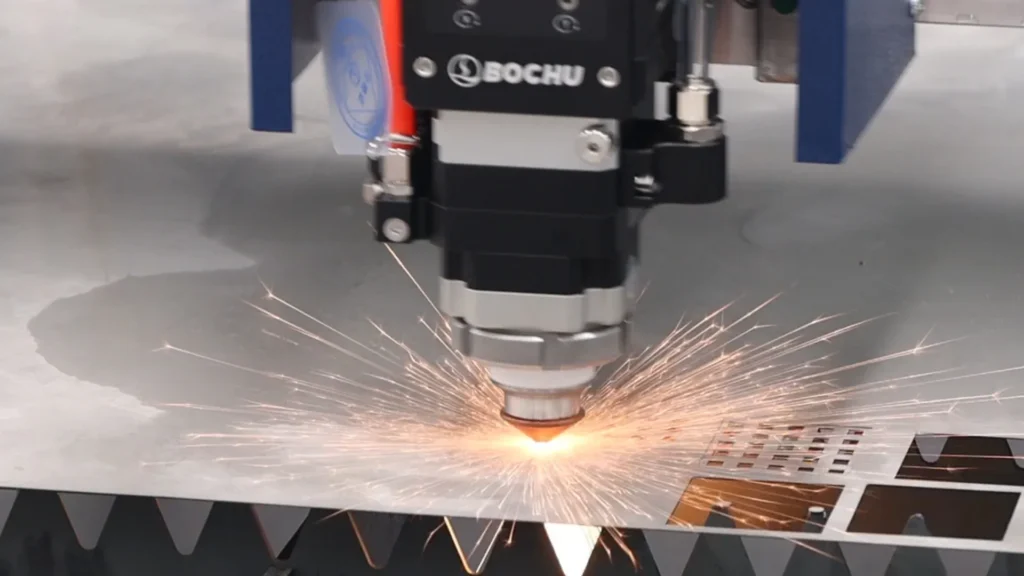
Mirror stainless steel is the premium material for signage. It is cut into letters, logos, and decorative panels, then polished and mounted. The material is typically 0.8 to 2.0mm thick, and both sides are covered with a protective PE film during shipping.
Brushed stainless steel is the more common choice for larger signage. It has a matte finish that hides minor scratches, and it is more forgiving to handle. Both materials require nitrogen assist gas to prevent oxidation on the cut edge.
2. Brass, Aluminum, and Coated Steel
Brass is used for high-end interior signage and decorative lettering. It is highly reflective and requires more laser power than stainless steel of the same thickness. Aluminum is used for lightweight sign panels and is also highly reflective, which makes it more difficult to cut cleanly.
| Material | Typical Thickness | Assist Gas | Special Consideration |
|---|---|---|---|
| Mirror Stainless Steel | 0.8–1.5 mm | Nitrogen | Protective film must be handled carefully |
| Brushed Stainless Steel | 1.0–2.0 mm | Nitrogen | More forgiving, common for large signs |
| Brass | 1.0–2.0 mm | Nitrogen | Requires higher power, high reflectivity |
| Aluminum | 1.0–2.0 mm | Nitrogen | High reflectivity, careful focus required |
| Coated Steel | 1.0–1.5 mm | Compressed air | Coating damage must be minimized |
Ⅱ. Mirror Stainless Steel: The Two-Step Film Process
1. Why You Cannot Cut Through the Film Directly
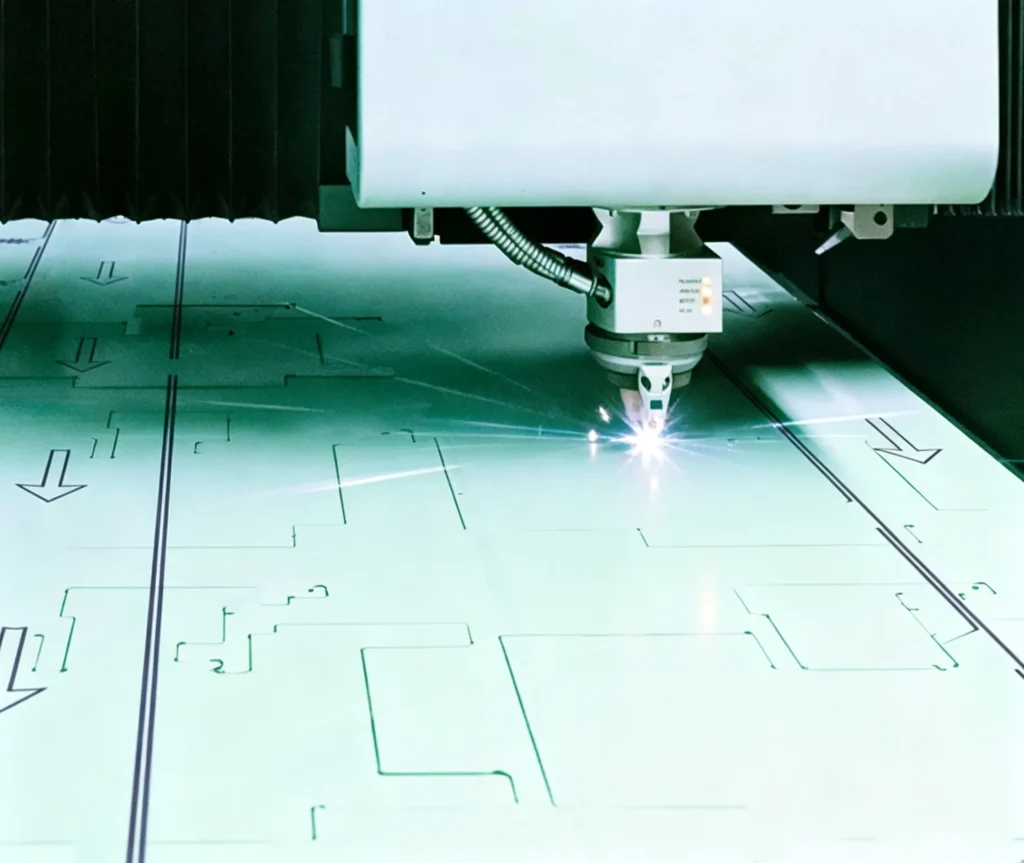
Most mirror and brushed stainless sheets arrive with a protective PE film on both sides. The instinct is to leave the film on and cut through it. This is the wrong approach. Cutting through the film at full power causes the film to bubble, melt, and adhere to the cut edge. The result is a rough, contaminated edge that requires labor-intensive cleanup.
The film also reflects laser energy. When the beam hits the reflective film surface at a shallow angle, it can scatter back into the cutting head, causing damage to the protective window or the nozzle.
2. The Two-Step Method: Pre-Scribe, Then Cut
The correct procedure is a two-step process. First, use low-power pulsed laser to scribe the film along the cutting path, removing the film and adhesive in a narrow strip. This is sometimes called film vaporization or film ablation.
Second, cut the metal at full power with high-pressure nitrogen assist. The metal edge is clean and oxide-free because the film is no longer in the way. The cut quality is immediately suitable for polishing or powder coating.
The parameter settings for the pre-scribe step depend on the film thickness and the adhesive. As a starting point, a frequency of 200 to 500 Hz at low power removes the film cleanly without damaging the metal underneath.
Ⅲ. Micro-Joints and Tip-Up Prevention
1. The Small-Part Problem
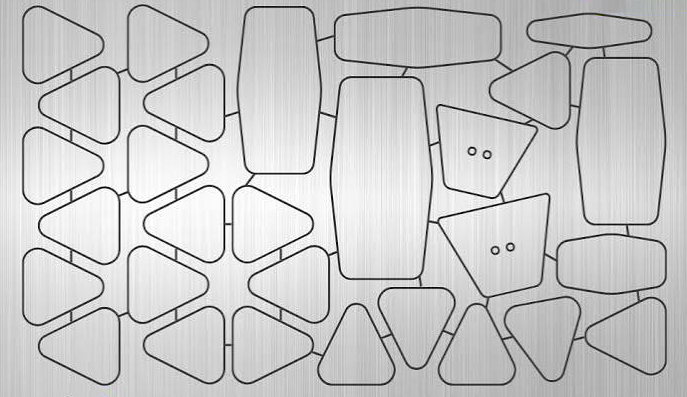
Signage letters are often small. A 50mm letter with thin strokes can have individual cut pieces that weigh only a few grams. When the laser finishes cutting, these small pieces drop onto the slats of the cutting table. Some of them tip up at an angle.
If a tipped-up piece is left in the path of the cutting head during a rapid move, the head crashes into it. The ceramic ring breaks, the nozzle is damaged, and the cutting head may need to be removed for repair. The cost of a single crash can exceed the entire value of the signage job.
2. Micro-Joints and Frog Jump
The solution has two parts. The first is micro-joints. The cutting software leaves a tiny uncut bridge, usually 0.2 to 0.5mm wide, that holds the small part in place until the operator removes it. The part does not fall onto the slats, and it does not tip up.
The second is the cutting head’s jump behavior. Modern controllers use a “frog jump” or “head lift” routine that raises the cutting head during rapid moves between small parts. Combined with micro-joints, this eliminates the crash risk entirely.
| Setting | Purpose | Typical Value |
|---|---|---|
| Micro-Joint Width | Hold small parts in place | 0.2–0.5 mm |
| Number of Micro-Joints | Balance holding vs. removal | 1–3 per part |
| Frog Jump Height | Clear tipped-up parts | 10–20 mm above material |
| Rapid Move Speed | Minimize cycle time | Machine-dependent |
Ⅳ. Corner Power Ramping for Sharp Points
1. The Problem with Constant Power
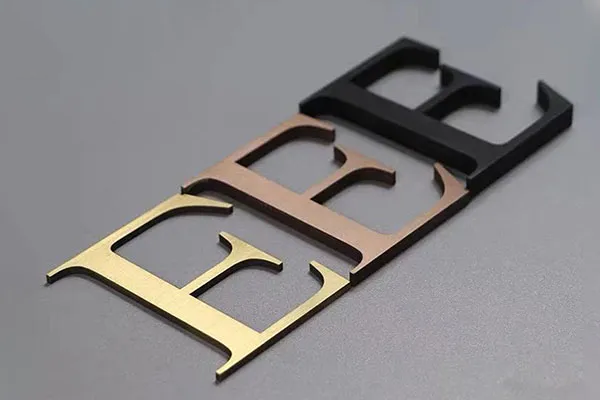
Signage letters have sharp corners. The letters A, M, W, and K are full of acute angles. When the cutting head slows down to make a sharp turn, the laser dwells longer at the corner, and the heat input per unit length of cut increases. The result is a melted or burned corner. The point of the letter A disappears, or the corner of the letter M is rounded off.
2. Power Ramping at Corners
The solution is corner power ramping, also called power frequency ramping. The CNC controller reduces the laser power as the cutting head decelerates into a corner, and restores it as the head accelerates out. The heat input remains constant along the entire cut path, and the corner stays sharp.
The parameter settings depend on the material, thickness, and the geometry of the corner. Most modern controllers include an automatic ramping function that adjusts power based on the programmed motion. The operator’s job is to verify the setting with a test cut before running production.
Ⅴ. Best Machine Setup for Laser Cutting Signage
1. Power and Bed Size
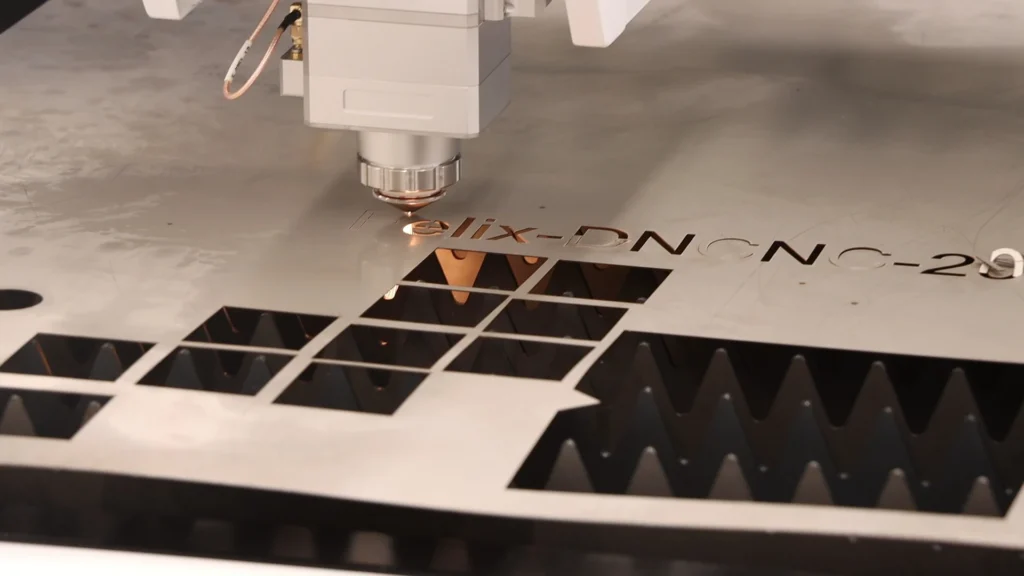
Signage work does not require high laser power. Most signage materials are under 2mm thick. A 1.5kW to 3kW fiber laser is sufficient and is the most cost-effective configuration for a signage shop.
The 3015 bed size (3m × 1.5m) matches the standard sheet size used by most signage manufacturers. Larger beds are rarely needed because the parts are small and the sheets are cut into many small pieces. To see exact equipment budget ranges across entry-level models, explore our fiber laser cutting machine price guide.
2. The Outsourcing vs. In-House Calculation
A typical signage shop outsourcing its stainless steel letter cutting to a local job shop spends $3,000 or more per month on cutting services. Each design revision adds two days to the lead time, and the shop has no control over the cut quality or the delivery schedule.
| Financial & Operational Metric | Outsourcing to Local Job Shop | In-House 1.5kW–3kW Fiber Laser | Monthly Commercial Impact |
|---|---|---|---|
| Monthly Cutting Expense | $3,000 – $4,500 (Invoice fees) | $800 – $1,100 (36-month lease payment) | Saves $1,900 – $3,400 / mo |
| Assist Gas & Consumables | Included in shop markup | ~$350 – $500 / month (Nitrogen & nozzles) | Minor operational overhead |
| Turnaround Time | 3 to 5 business days | Same-day (Cut within 2 hours of design approval) | Lead time reduced by 90% |
| Design Revision Flexibility | $50–$100 setup fee + 24-hr delay | Instant re-nesting at zero extra cost | Eliminates customer friction |
| Production Bottleneck | Limited by supplier schedule | On-demand cutting 24/7 | Higher sales conversion |
A 1.5kW to 3kW fiber laser with a 3015 bed carries a monthly payment of $800 to $1,100 on a 36-month lease. The machine covers its own payment with the first week of production. From that point on, the shop controls its own lead time, its own quality, and its own margins.
The comparison logic is the same as the one we break down in our in-house vs outsourcing laser cutting guide.
3. Assist Gas: Nitrogen for the Cut Edge
Nitrogen is the correct assist gas for stainless steel, brass, and aluminum signage. It produces a clean, oxide-free edge that is immediately ready for polishing, powder coating, or mounting. Compressed air is cheaper, but the oxidized edge it produces requires additional cleaning and may not meet the cosmetic standard for premium signage.
The cost of nitrogen is manageable at the gas pressures required for thin material. The full cost comparison is covered in our laser cutting gas cost guide. For a signage shop, the edge quality is worth the gas cost.
Ⅵ. FAQ: Laser Cutting Signage Questions
1. Can I cut mirror stainless steel without removing the protective film first?
No, not directly at full power. The film must be scribed away in a low-power pass before the metal is cut. Cutting through the film at full power causes film adhesion to the edge and increases the risk of back-reflection damage to the cutting head.
2. How do I prevent small letters from tipping up and hitting the cutting head?
Use micro-joints to hold the small parts in place, and enable the frog jump or head lift function so the cutting head rises during rapid moves. This combination eliminates the crash risk that plagues signage cutting.
3. Why do the sharp corners of my letters look melted?
The laser is dwelling too long at the corner, applying excessive heat. Enable corner power ramping in the controller so the laser power reduces as the head decelerates into the corner. Test the setting on scrap material before running production.
4. What laser power do I need for signage work?
A 1.5kW to 3kW fiber laser is sufficient for all common signage materials, which are typically under 2mm thick. Higher power is not necessary and does not improve cut quality on thin material.
5. Is nitrogen necessary for cutting signage materials?
For stainless steel, brass, and aluminum signage, nitrogen is the correct choice. It produces a clean, oxide-free edge that is ready for finishing. Compressed air is a cheaper alternative but the oxidized edge requires additional cleaning.
Ⅶ. Conclusion: Signage Cutting Rewards Process Discipline
Laser cutting signage is not difficult once the process is understood. The materials are thin, the machine requirements are modest, and the cutting speeds are high. What separates a good signage shop from a struggling one is process discipline: the two-step film process, the micro-joint and frog jump settings, and the corner power ramping.
At WSL Laser, we configure machines for signage manufacturers who need consistent, cosmetic-quality edges on every part. The machine is the tool. The process is the competitive advantage.
References
- ISO 9013: Thermal cutting — Classification of thermal cuts, ANSI Webstore.
- ISO 230-1: Test code for machine tools — Geometric accuracy of machines operating under no-load conditions, International Organization for Standardization.
- AWS C7.2M: Recommended Practices for Laser Beam Cutting and Allied Processes, American Welding Society.